Showing posts with label reindeer. Show all posts

Sunday, October 1, 2017

Tart Tin Ornaments

Just a few of my many tart tins. 
For the last year I have been purchasing vintage tart tins at estate sales. I have quite the collection. I am attracted to their shapes, textures and colors. I knew I wanted to recycle them and create something new from something vintage which if you follow my blog you know I love to do. The first thing I came up with was tart tin Christmas trees which I wrote about in an earlier blog, Tart Tins. You can read it here.  But I still have lots of tart tins. So I searched my favorite idea site, Pinterest and discovered some cute ideas for tart tin ornaments. I have no idea if they will sell but I love how they turned out. Here's how I made them.First start with some vintage tart tins. I bought mine at local estate sales. Next I gathered some cute vintage items from my Christmas goodies stash.
Vintage Light Bulbs

My one really well organized area....my Christmas stash


Wooden Ornaments
I have bottle brush trees, old wooden ornaments, glass balls, flocked Santas, reindeer, bells, garland, scrabble letters and more.


 I think the tins look great with snow glitter. First I spray the tin with adhesive spray. I like to do this outside because the spray has a terrible odor. Then I sprinkle my glitter into the tin. I try to do 10 to 12 of these at a time to let them dry.

After they dry I use a combination of hot glue and white glue to attach my decorations. I like the hot glue for a fast hold and the white glue for a longer lasting secure hold.


I use a punch tool to put two holes in the top of the tins to put silver elastic cord through to hang the finished tins. This punch is an awesome little tool.


I found some cheap round stickers at the local dollar store so I created some vintage graphics with them from Graphics Fairy which is a great site for vintage graphics.


Here are some of the finished tins. 


I think these turned out awesome. If you don't have any tart tins you could use old cookie cutters as an alternative. If you try this please share your finished products with me as I'd love to see them. Happy Junkin. Remember, buy what you love.


Thursday, August 17, 2017

Christmas Configuration Boxes

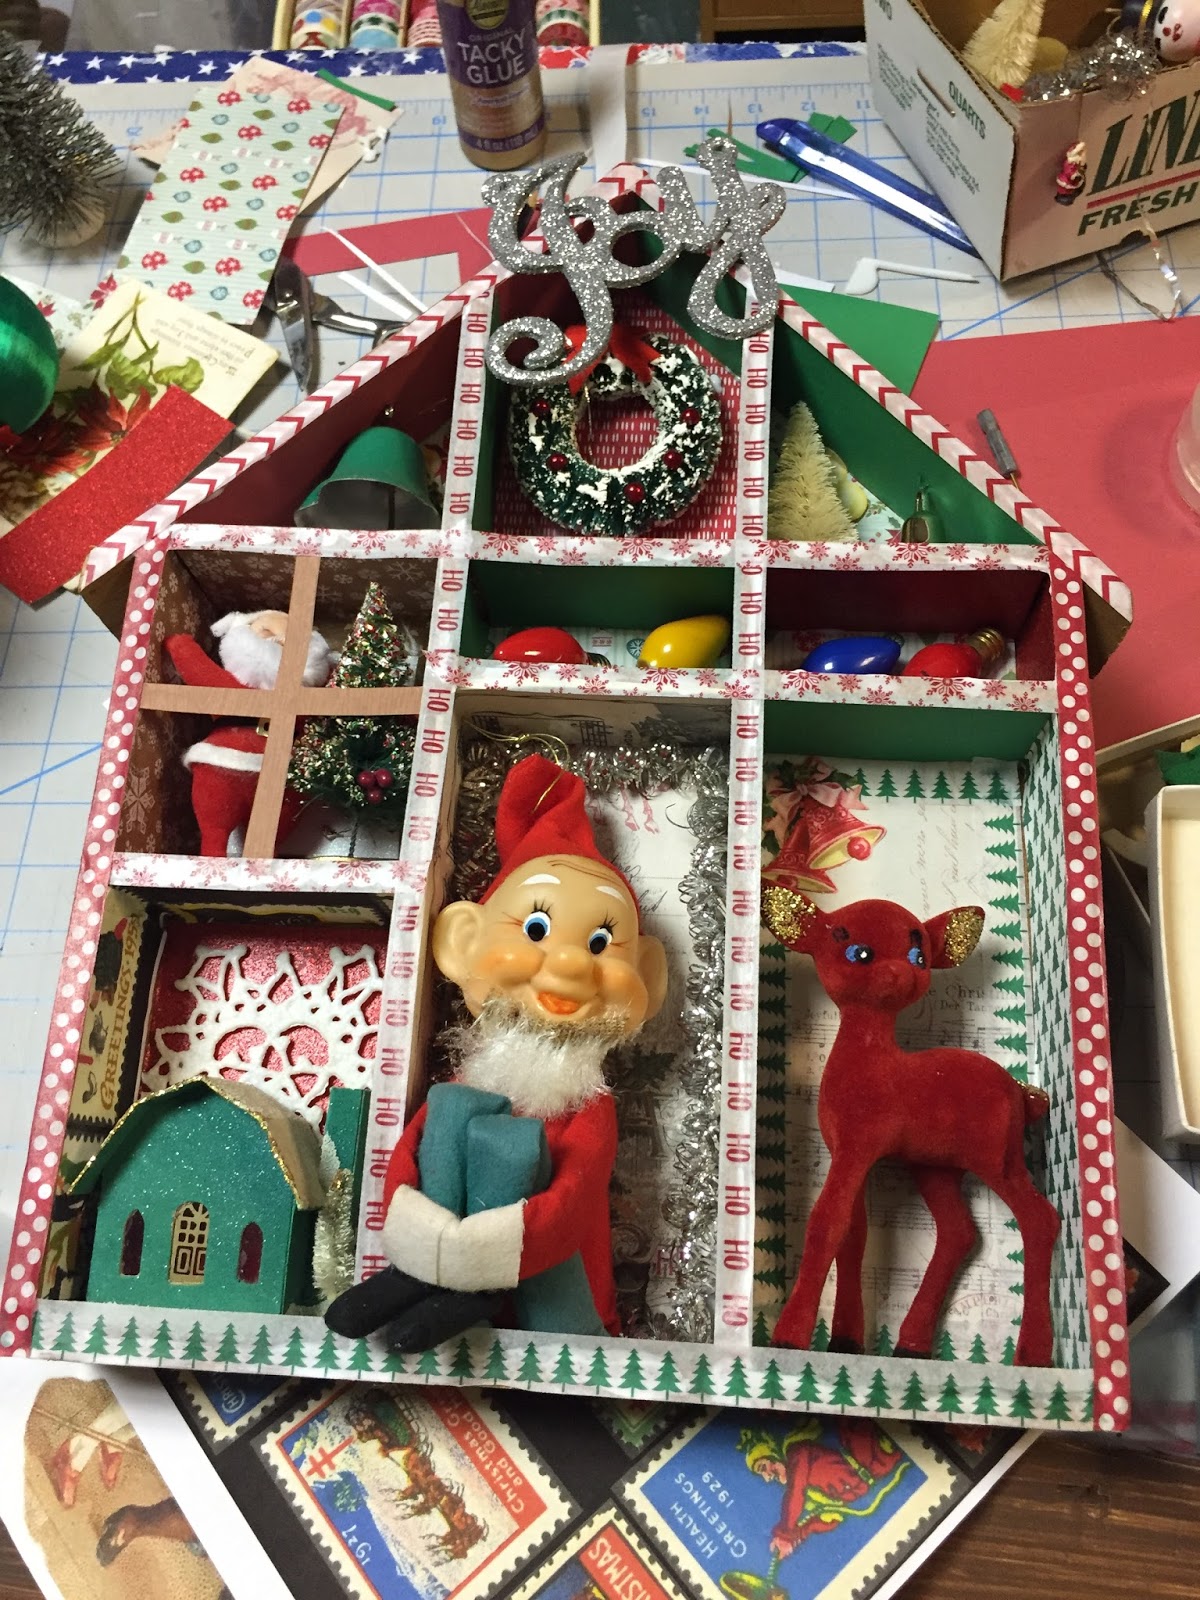
Several folks have asked me how I make my Christmas configuration boxes (Shadow Boxes). So here is step by step directions.

First I purchase a vintage shadow box. I have found these at yard sales, estate sales and thrift stores. I'm lucky because a friend bought me two that are shaped like a house at a thrift store.


Next I gather the ornaments and Christmas decorations I want to put in the shadow box. That will help me determine the size of the divisions. I use a Dremel tool with a saw blade to remove the dividers I do not need. I always remove dividers from my configuration boxes because the spaces are just too small.


These are some of the items I have collected year round for this project.  I look for old Christmas light bulbs, vintage knee elves, old bells, old seals, putz houses, bottle brush trees, flocked Santas, plastic reindeer and more. 
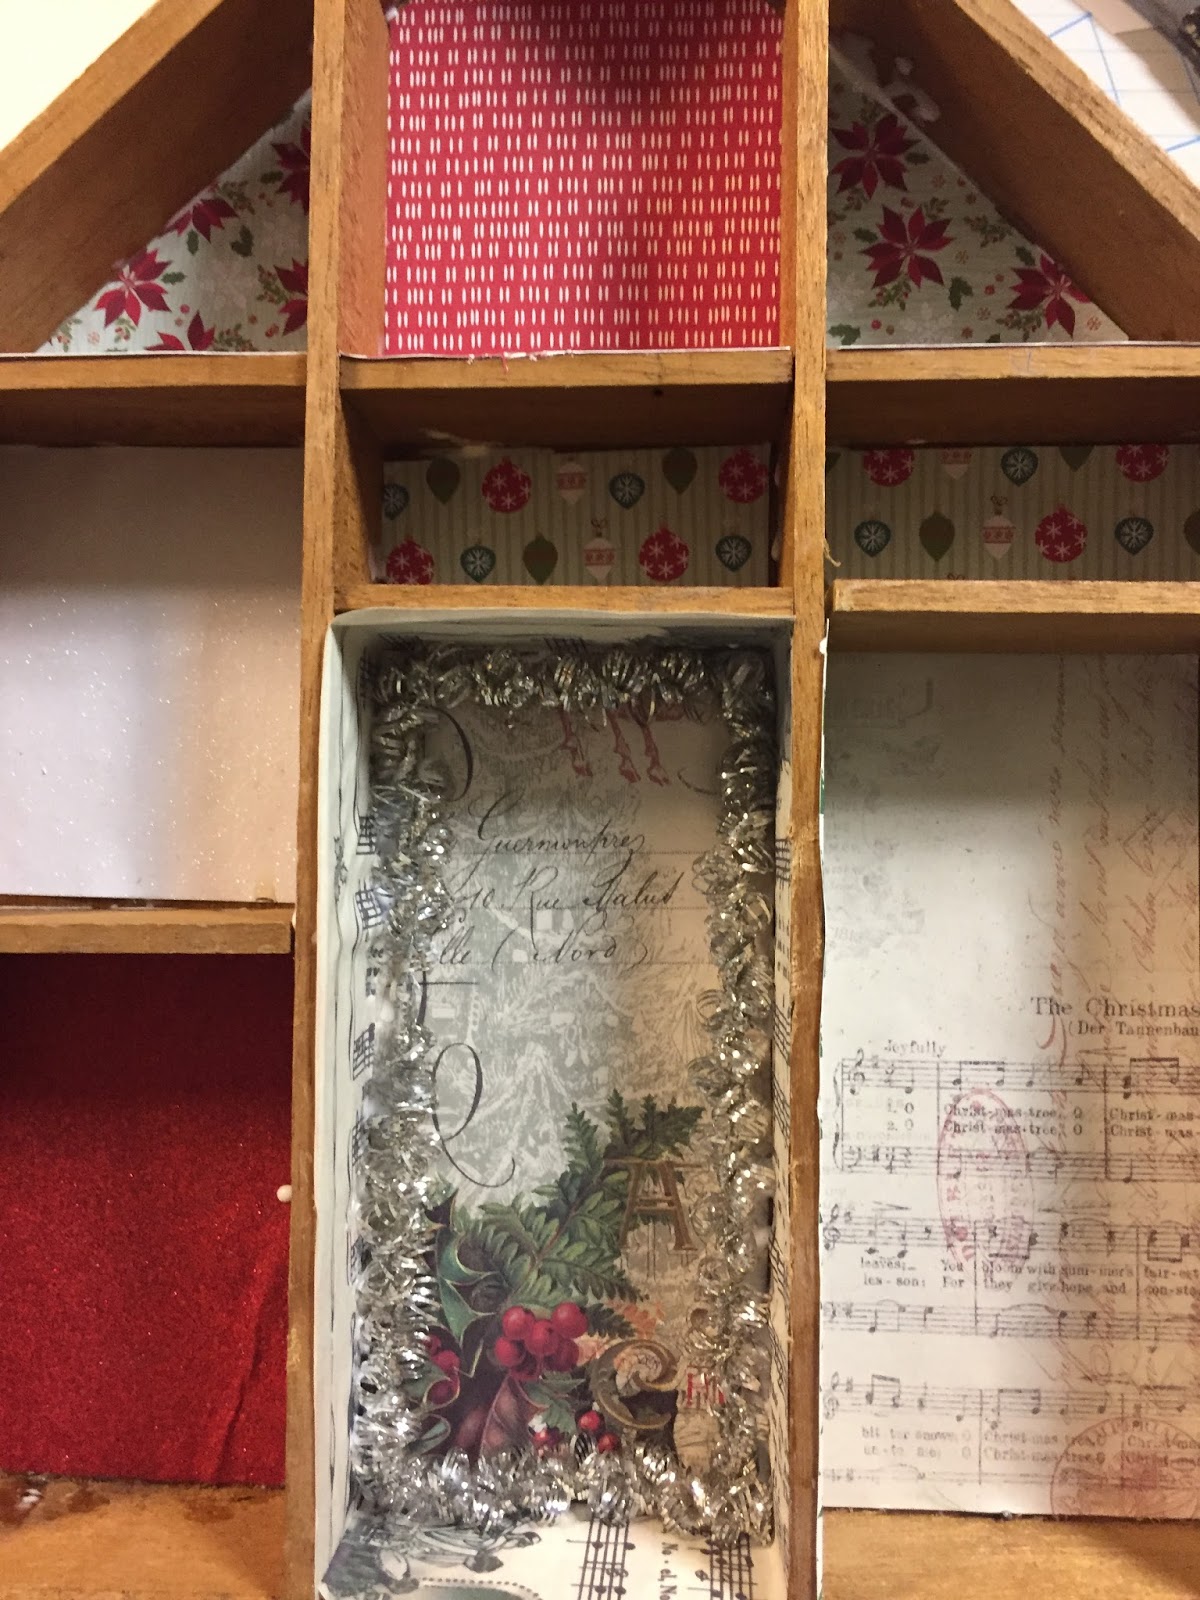
After removing the dividers I cover the inside of each square in scrapbook papers that will blend with the item I am going to place in that space. I use white glue using a brush to spread it smoothly over the area. I use an exacta knife to cut the paper. You could also use a paper cutter. I cover the back and inside of each cell. 

I also put vintage garland and Washi tape on the inside edges of some of the cells to add more detail.


Next I put the ornaments and decorations in the cells. I use removable glue dots, white glue and even some hot glue to place the pieces in the cells. 


Next I cover the edges of each cell with narrow Washi tape. I love Washi tape but it is not the stickiest tape I have ever used. I brush white glue on the edges before placing the tape on it. 
Last year the local one dollar store had the cutest glitter cardboard Christmas ornament words. I bought as many as I could find before they got gone. I place one of these on top or in a cute place on the box. Here's my final piece. I really love it. 


Saturday, May 6, 2017

Estate Sale Friday and Saturday - How I Love you!

Well we had a great time at a local estate sale this weekend. Around here estate sales are on Friday and Saturday which is super for us since we are retired. As I shared in my blog post Junkin 101 (http://goodsonvintagetreasures.blogspot.com/2017/04/junkin-101-if-you-love-junkin-as-much.html). I prepared by researching the sale, arriving early, taking my big Ikea bag and returning on the second half price day. We had great success both days and spent a bunch of cash on some awesome items. The lady that had owned this house was a collector who loved yard sales and had a great eye. This was a great sale for smalls, and smalls pay the booth cost!

I love Christmas collectables. at this sale I scored Santa and snowmen blow molds (a hot collectable now),  a strand of snowball ice lights, great little pixie elves, Shiny Brite ornaments and celluloid reindeer. I will sell all of these at my booths, on Ebay or use in my configuration boxes. Remember to buy what you love. Well, I might have to hang onto a pixie or two.

Of course we also found lots of other treasures for our booths. Blue jars,  a vintage pink tole trash can, a mannequin head wearing a beautiful headpiece, vintage compacts, McCoy bowl, sewing basket, McCoy cream and sugar, cookie cutters, salt and pepper shakers, marbles, wash boards and much more. Hope your weekend was as fun as ours.